Well I didn’t make it to the next round for American Crafter. It was a disappointment but I still had fun competing. The theme this week was Kids and I went ahead and made something for the theme this past weekend. You know, just in case…
I knew I wanted to make a toy box. We have 2 nephews and one that spends the night pretty regularly. That means we have started collecting toys.
Those things multiply. Yes they do.
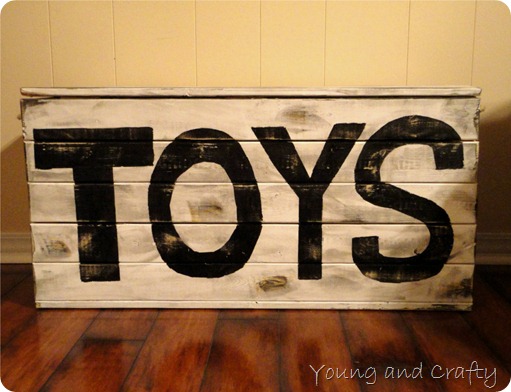
I absolutely love how this turned out. Maybe it’s because I made it completely by myself.
Meaning: no help from the hubs.
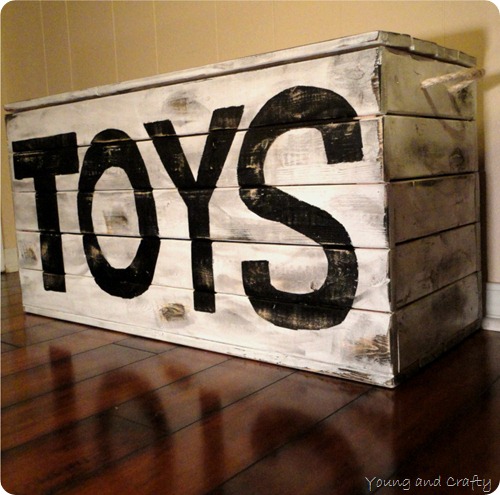
The plans to make this toy box came from my head. There may be plans out there for a similar box but I didn’t use them. It probably took me about 2 hours to put it all together. And the best part? It was less than $30.
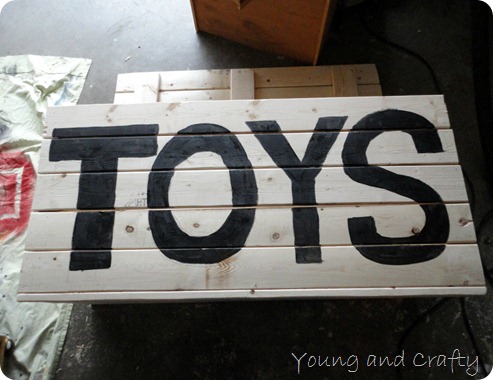
Granted there were a few bumps along the way. Not in the building part. I was a genius and decided to paint the word TOYS on before painting the box. Not my brightest moment.
I am aware that the letters aren’t perfect. I free handed them so that’s as good as it gets.
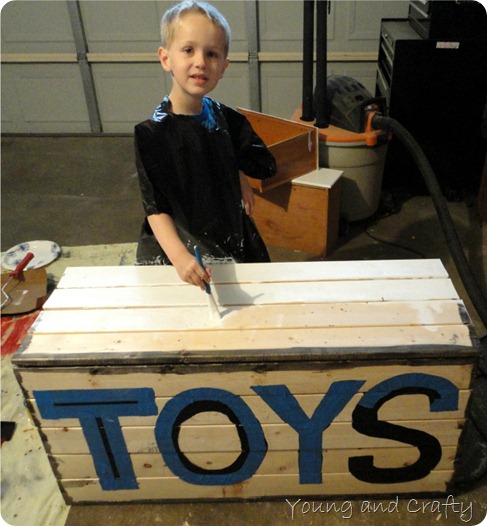
The huge mistake of me painting on the letters before painting it resulted in me spending about an hour taping over the letters. No, it was not fun. Yes, it took forever. Yes, the O and the S sucked… baaaad.
While I was in the process of fixing my mistake, I let my little nephew help paint the lid. The black you see on the edges is stain. I stained the edges so that when I distressed it would show through. In the end, this part didn’t matter because of the technique I used.
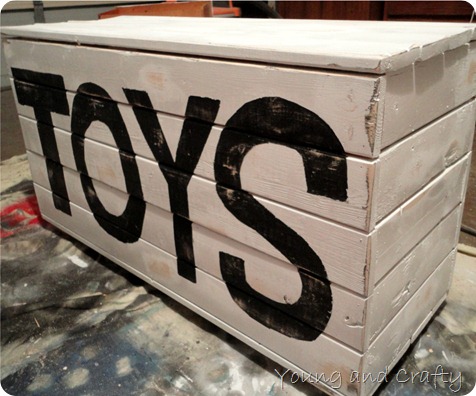
I painted the whole thing white and then took the sander and distressed in random places and on the edges.
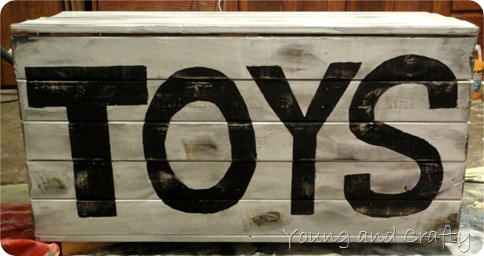
I then took some Ebony stain that we had on hand and went over the entire box. Just wipe on wipe off. I made sure to get the distressed spots really well. Then I took the sander and lightly sanded everything again. I made sure to get the letters really well too.
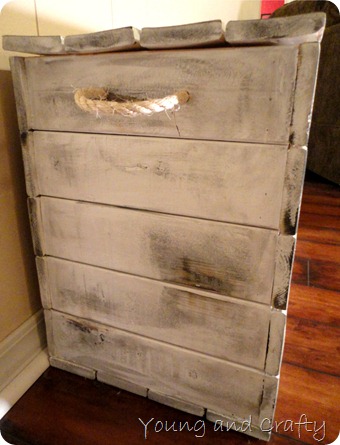
Of course I had to add some sisal rope for my handles. I just love the texture it adds.
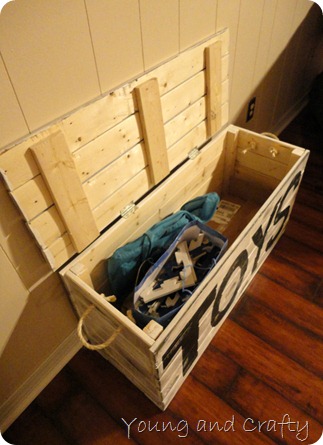
I added hinges for the lid. No it’s not child proof. Hopefully no fingers will be squished.
And now, a whole bunch of pictures to show off this beauty.
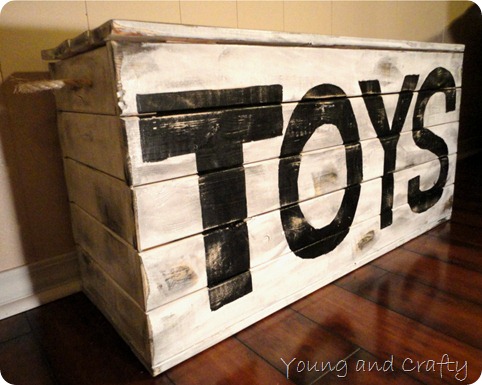
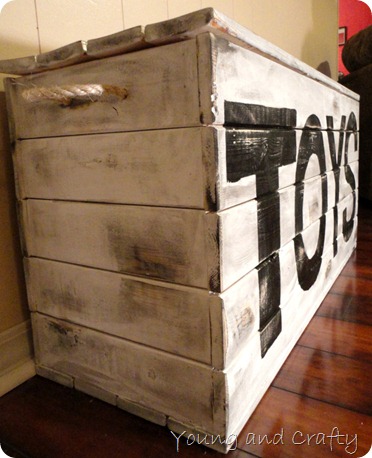
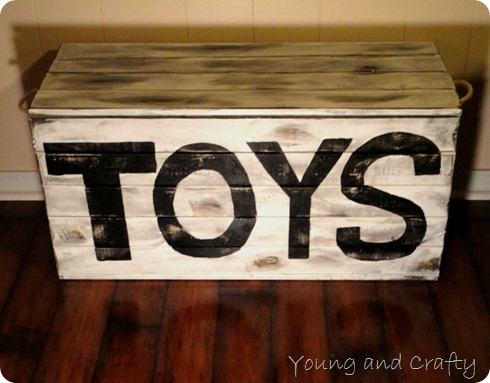
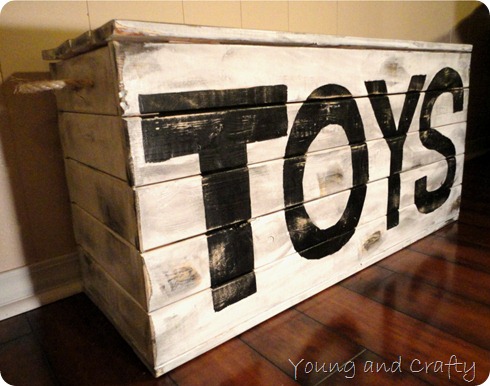
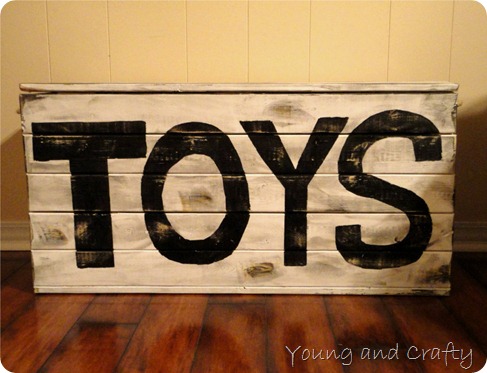
It reminds me of a beat up Army trunk or something like that. I just love it!
If you would like a tutorial for how to build this, please let me know and I can attempt to put one together.
Thanks for stopping in 🙂